Most orgs have a job that runs on a schedule, but, sometimes, you just can’t wait for the next execution to roll around!
If you’re technical, you just manually invoke the script locally or trigger it in the AWS Console, but what if you’re non-technical?
Let’s take a look at how this problem can be solved with Buttonize!
Intro
To begin with, let’s layout the initial requirements for an automated process we’d like to build for our business’s Sales team.
- We have a DynamoDB table filled with customer data, populated by our customer-facing webapp.
- Our Sales team wants the data in S3 since their report generation software works well with it.
- Once a day, the Sales team would like a snapshot of the data that’s in Dynamo to appear in the S3 bucket their tool is pointed at.
Now, because this is a real-world business problem, the requirements are going to change after we’re 90% through with the coding. For now, though, let’s start with the initial, seemingly simple requirements. To fulfill them, we’ve come up with the following:
- Write a python lambda to trigger the table export.
- Use the
export_table_to_point_in_timemethod from theboto3to perform the import. - Hook the lambda up to a CloudWatch Event so that it runs once a day without our involvement.
After running this by the Sales team in a proposal and getting approval, we’re off to building it!
Our Lambda Code
Since we’ll leave most the of the heavy lifting to boto3, our lambda’s code looks nice and simple:
import boto3import datetimeimport os
client = boto3.client('dynamodb')
def handler(event, context):    client.export_table_to_point_in_time(        TableArn=os.getenv("TABLE_ARN"),        ExportTime=datetime.datetime.now(),        S3Bucket=os.getenv("BUCKET_NAME"),        S3Prefix='snapshots',        S3SseAlgorithm='AES256',        ExportFormat='DYNAMODB_JSON'    )
The only complication is those environment variables. Since we’ll use an IaC tool to deploy our lambda, it will make filling those in easy. Onto the infrastructure!
Our CDK Stack
Before adding our lambda, our stack is quite simple:
import * as cdk from 'aws-cdk-lib'import * as s3 from 'aws-cdk-lib/aws-s3'import * as dynamodb from 'aws-cdk-lib/aws-dynamodb'import { Construct } from 'constructs'
export class DynamoToS3Stack extends cdk.Stack {  constructor(scope: Construct, id: string, props?: cdk.StackProps) {    super(scope, id, props)
    new dynamodb.Table(this, 'CustomerDataTable', {      partitionKey: {        name: 'id',        type: dynamodb.AttributeType.STRING      }    })
    new s3.Bucket(scope, 'CustomerDataBucket')  }}
Now, we need to provision the lambda inside of this stack, give its runtime role access to the other resources, and fill in those environment variables.
import * as cdk from 'aws-cdk-lib'import * as dynamodb from 'aws-cdk-lib/aws-dynamodb'import { Effect, PolicyStatement } from 'aws-cdk-lib/aws-iam'import * as lambda from 'aws-cdk-lib/aws-lambda'import * as s3 from 'aws-cdk-lib/aws-s3'import { Construct } from 'constructs'import * as path from 'path'
export class DynamoToS3Stack extends cdk.Stack {  constructor(scope: Construct, id: string, props?: cdk.StackProps) {    super(scope, id, props)
    const table = new dynamodb.Table(this, 'CustomerDataTable', {      partitionKey: {        name: 'id',        type: dynamodb.AttributeType.STRING      },      pointInTimeRecovery: true    })
    const bucket = new s3.Bucket(this, 'CustomerDataBucket')
    const importLambda = new lambda.Function(this, 'Function', {      runtime: lambda.Runtime.PYTHON_3_10,      handler: 'lambda.handler',      code: lambda.Code.fromAsset(path.join(__dirname, '..', 'funcs')),      environment: {        TABLE_ARN: table.tableArn,        BUCKET_NAME: bucket.bucketName      }    })
    importLambda.addToRolePolicy(      new PolicyStatement({        effect: Effect.ALLOW,        resources: [table.tableArn],        actions: ['dynamodb:ExportTableToPointInTime']      })    )    importLambda.addToRolePolicy(      new PolicyStatement({        effect: Effect.ALLOW,        resources: [bucket.bucketArn, `${bucket.bucketArn}/*`],        actions: ['s3:AbortMultipartUpload', 's3:PutObject', 's3:PutObjectAcl']      })    )  }}
Now that we have all the resources set up, we just need to schedule the lambda to be invoked! We can do so by adding the following lines:
import * as events from 'aws-cdk-lib/aws-events'import * as eventsTargets from 'aws-cdk-lib/aws-events-targets'
// ...new events.Rule(this, 'Rule', {  description: 'Schedule a Lambda that creates a report every day at 6 A.M.',  schedule: events.Schedule.cron({    year: '*',    month: '*',    day: '*',    hour: '6',    minute: '0'  }),  targets: [new eventsTargets.LambdaFunction(importLambda)]})
And with that, we have our solution! Once a day before working hours, our lambda will run, take a snapshot of our DyanmoDB table, and store it in S3; all without any Engineering involvement once it’s deployed!
Requirements Change
After a few days of running with this solution in production and just as we’re moving onto another task in another domain, a coworker from the Sales department raises an issue.
”For customer 73953, our report is showing outdated info. They updated their email in the system this morning but the report is still showing their old email,” reads the issue.
”The script that imports the data runs at 6 am. The customer updated their email this morning after the script ran, so the system still has the old data. But it will be fixed in tomorrow’s report!” reads our Engineering team’s reply.
”Is there a way to trigger the script to update the data before we generated the report?” asks Sales.
Initial Solutions
Our Engineering team puts everyone’s heads together and the first idea is this:
Have Sales message one of us when they need the script to run. We’ll log into the AWS console, manually invoke the lambda, and be done with it.
This idea is almost immediately discarded as it’s likely to leave our coworkers disappointed: the engineer who receives the message might be in a meeting, on PTO, or too busy to address one-off requests. The team needs something scalable!
Onto the second:
Build them a webapp to trigger the button. Use some web framework with an LDAP/Active Directory integration to make sure it’s authenticated. Rent an EC2 instance to host it, and then build a UI in HTML that gives them a button that triggers a web request. On top of that, we can load some IAM credentials into the EC2’s environment and use an AWS SDK to invoke our lambda from the webapp’s backend. This way, Sales can trigger the import whenever they want.
This idea will work! It’ll give Sales what they need and allow us to remain hands-off.
The only issue is it sounds like a week’s worth of work for such a simple request…
Buttonize to the Rescue!
Since we’re already using AWS CDK, we can try building the UI in Buttonize, directly as part of the infrastructure.
We visit https://app.buttonize.io/register, sign up, create an organization, invite some colleagues, and then write down our API Key. From there, we’re ready to build the UI.
First, we’ll run npm install buttonize -D to add buttonize as a dependency to our project and then check
out the docs at https://docs.buttonize.io/ to get familiar with what’s available. In the documentation, there are
a few CDK constructs listed that we can use to build out the page.
Buttonize.inithooks our stack up to Buttonize, and it’s where we provide our API key.ButtonizeAppis the highest level construct needed in order to build an app. All we do is instantiate it and give it a name.- The
pagemethod is used to define what our app should display. An app can have multiple pages. Display.textsimply communicates info to the user. This component is non-interactable.- And finally, the almighty
Input.buttoncomponent! It’s here where we can trigger a lambda and take action based on user input.
Once we’re done, our code looks like this:
import { Action, Buttonize, ButtonizeApp, Display, Input } from 'buttonize/cdk'// the rest of the imports below// ...
export class DynamoToS3Stack extends cdk.Stack { constructor(scope: Construct, id: string, props?: cdk.StackProps) { super(scope, id, props)
Buttonize.init(this, { apiKey: `${process.env.BTNZ_API_KEY}` })
// the rest of the stack code goes here // ...
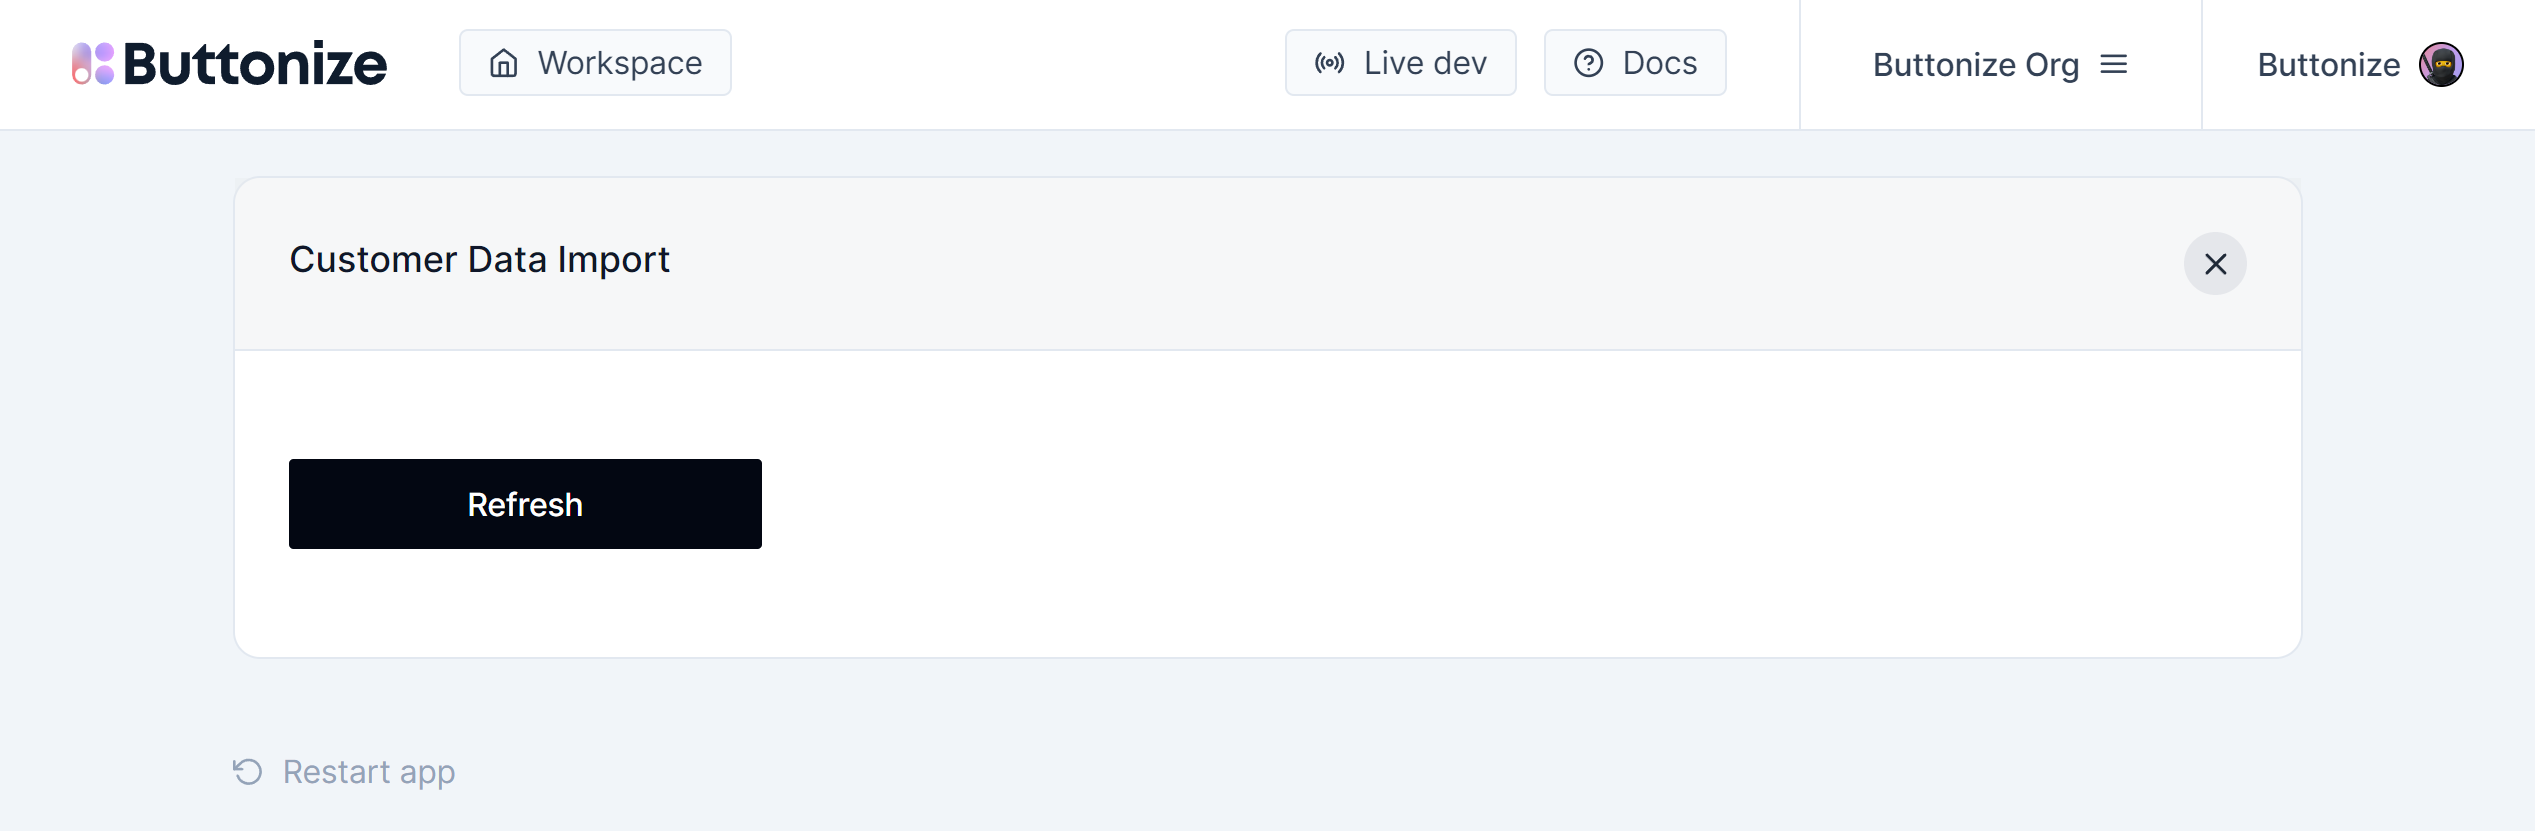
new ButtonizeApp(this, 'CustomerSupportApp') .page('InvokePage', { title: 'Customer Data Import', body: [ Input.button({ label: 'Load User', onClick: Action.aws.lambda.invoke(importLambda), onClickFinished: Action.buttonize.app.changePage('ConfirmationPage') }) ] }) .page('ConfirmationPage', { title: 'Import request received!', body: [ Display.text('Please try generating your report an hour from now.') ] }) }}We just need to make sure the BTNZ_API_KEY environment variable is set where we’re running
cdk deploy from, and with that, we have a button our Sales team can hit!
The Buttonize constructs we added are enough to get the UI up and running, and our app should now be visible at https://app.buttonize.io. Now, we can direct Sales there after adding their users to our org, and the rest should be hands-off for Engineering!
The Lambda
While Buttonize for CDK only supports TypeScript, we demonstrated building the lambda in Python in order to show how agnostic Buttonize is to what your lambdas actually do. The lambda’s source code could be in Node, Java, or, God forbid, PowerShell, and you could still hook it up to Buttonize.
Caveats
Also, if you’re familiar with export_table_to_point_in_time, you might know that it can
take a while to run and the example above does have a small issue: the Sales team won’t
know when the import is finished and therefore, after hitting the button, they won’t
know when exactly they can generate the report.
In reality, you’d likely have another lambda fire off a notification once it detects that the export is finished. Since this would run independent of Buttonize, though, there isn’t really a need to demonstrate this here.
Conclusion
With that, we have a complete picture. Hopefully, you see an opportunity to build something to boost your team’s productivity with Buttonize!